This article is for you if you have:
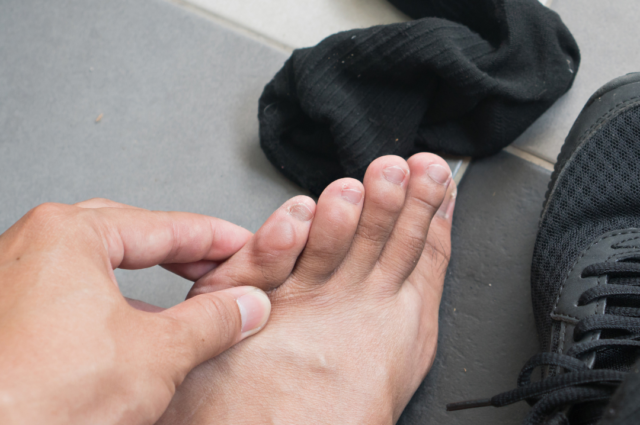
- Pain at the ball of your foot (forefoot)
- Have been wondering if orthotics could help decrease your pain or improve your comfort
- Have orthotics but unsure how they are working (and if something could be done to make them even more effective!)
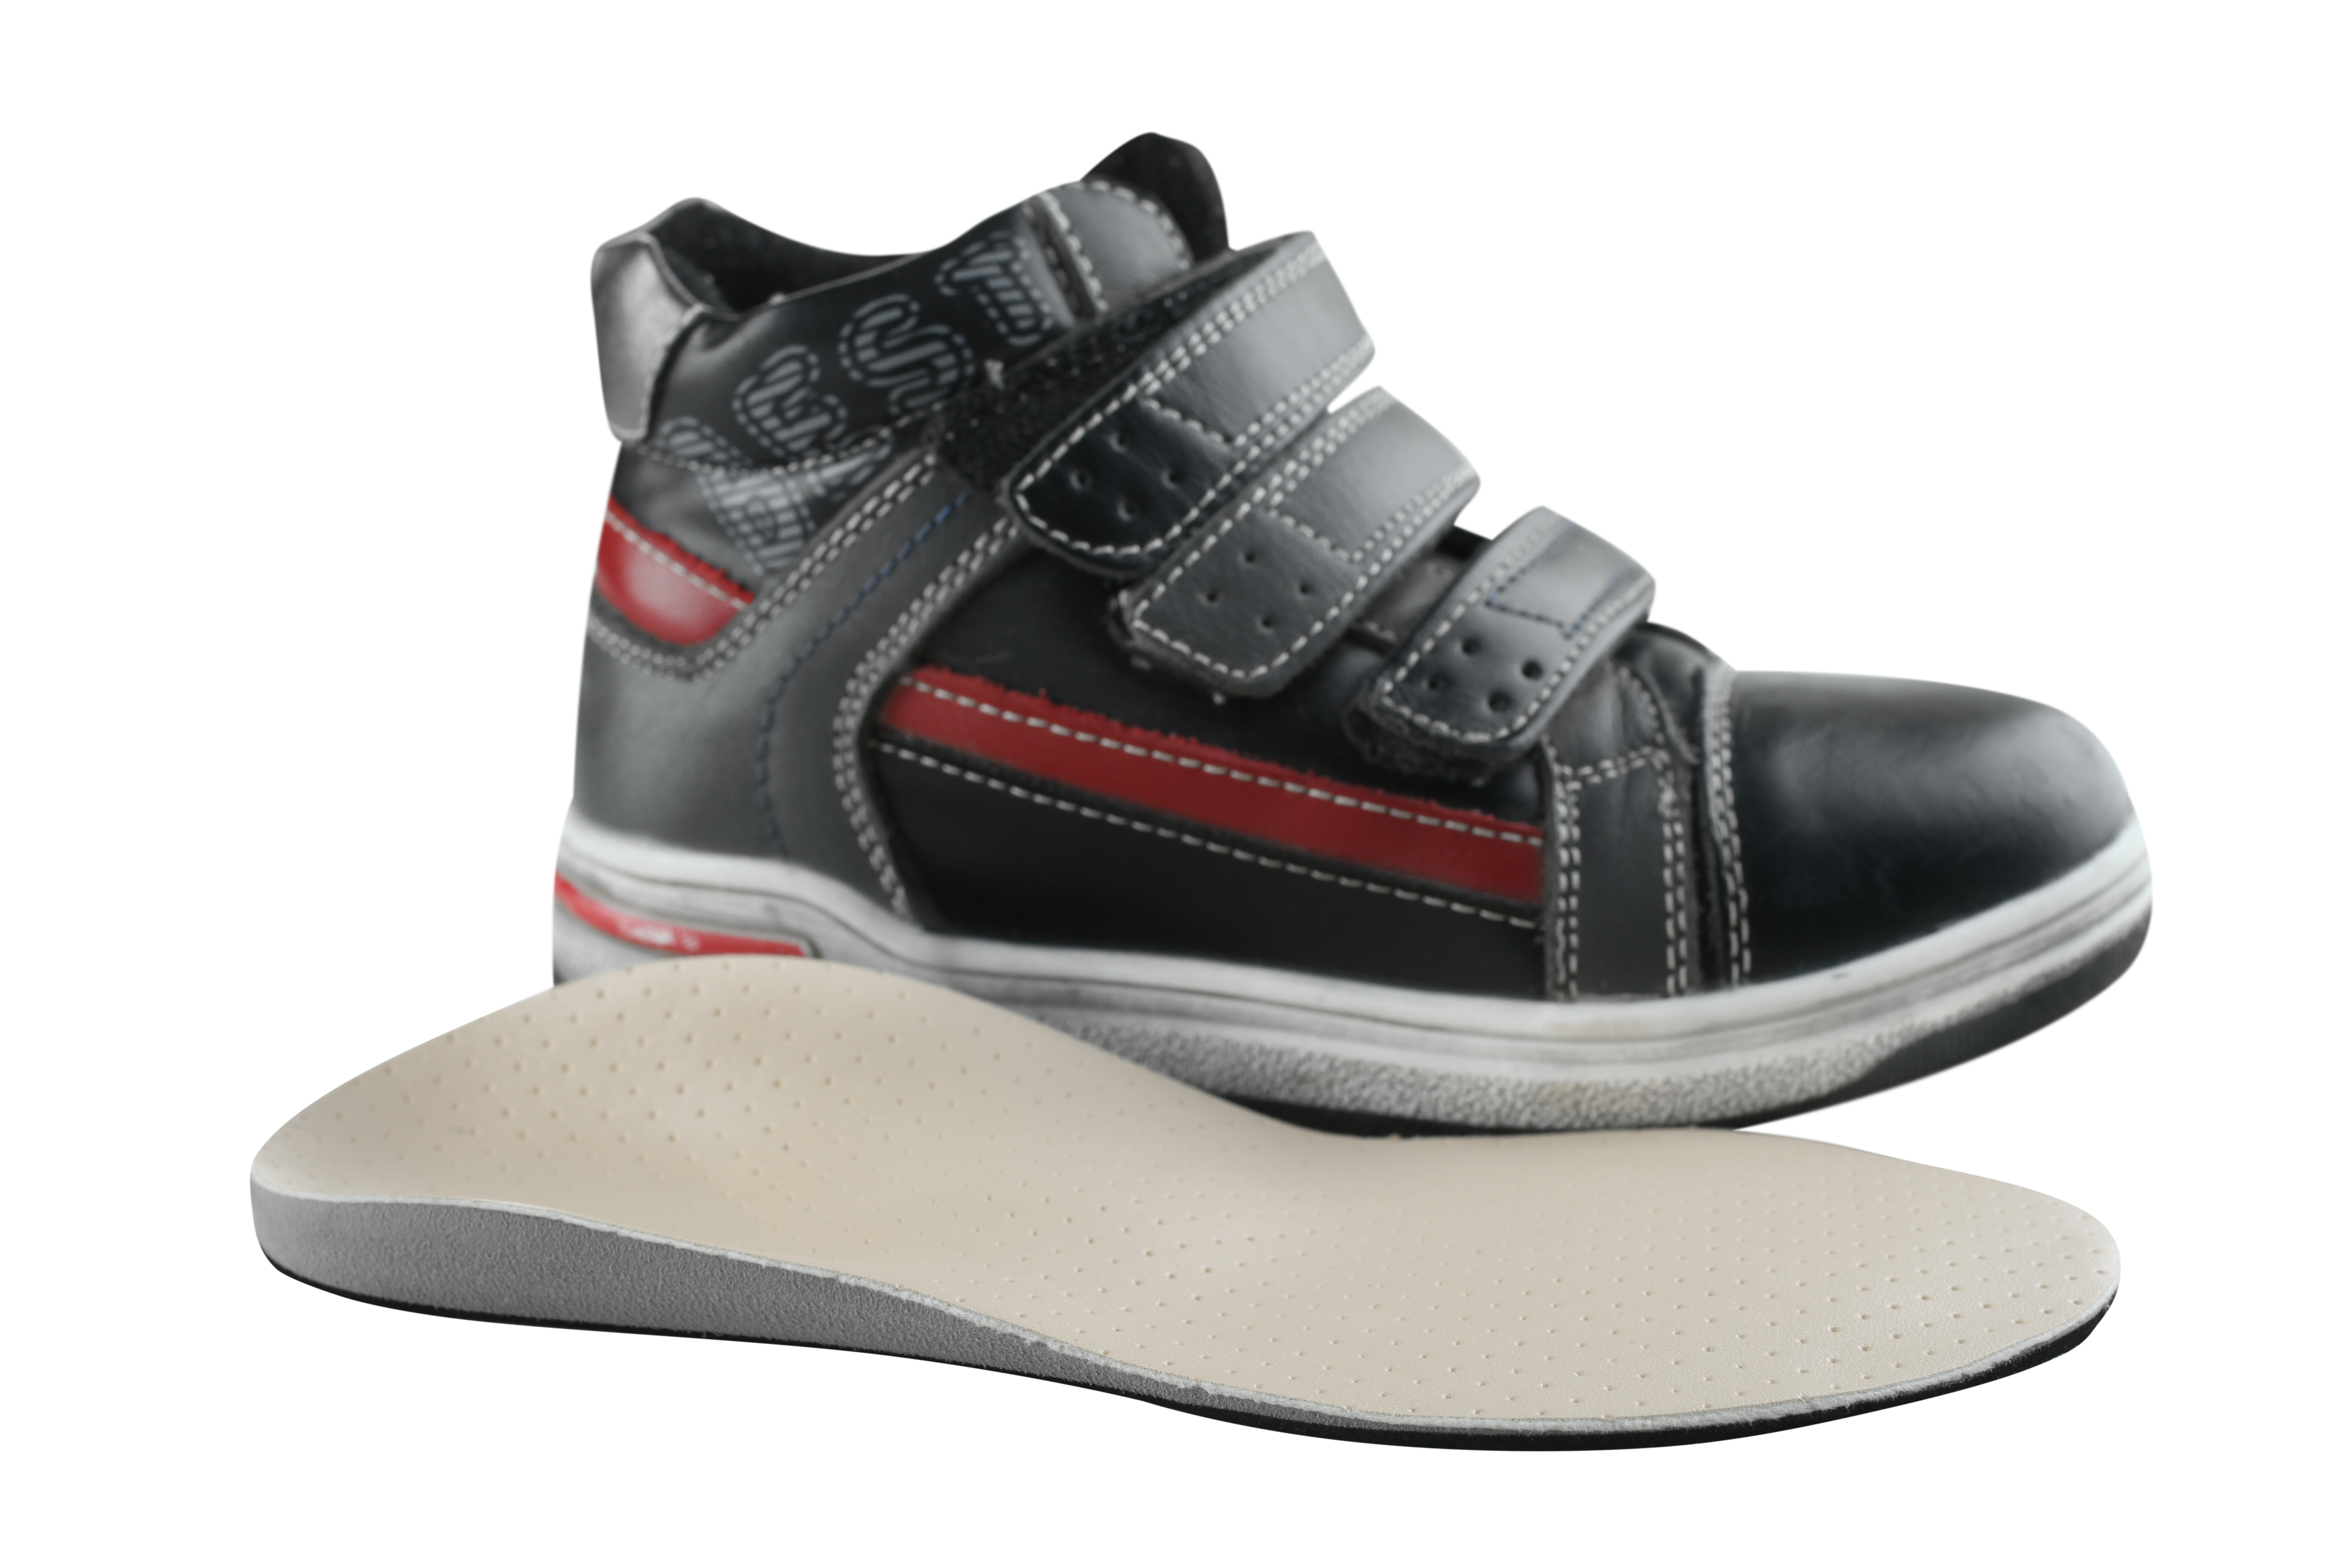
Orthotics have the ability to reduce pain, facilitate the healing of injuries, make walking and running much more comfortable and really add positively to your quality of life. While a lot of expertise and care goes into each orthotic prescription we make, you get given this device that replaces the inner sole of your shoes, without perhaps knowing the inner workings and theory behind it.
As you start feeling the difference, you may be left wondering exactly
how the orthotics are working and resulting in your symptom relief. Perhaps you know someone whose orthotics haven’t produced the same great results that yours have. Well, today we’re answering all these questions and sharing three ways that orthotics can start helping your forefoot pain today! Here we go…
#1. Orthotics take pressure away from damaged joints, tissues, ligaments and bones
Custom orthotics have
features or
additions. When we talk about forefoot pain, we often talk about adding an
addition to the forefoot and midfoot that will actually remove the regular pressure away from damaged bones and joints – or at least decrease it significantly.
Picture this. Your big toe joint is injured. Every time you walk, you put pressure along the whole foot including that joint. You put a big cushion beneath the foot, but not beneath the big toe joint. As you walk and your midfoot is supported and cushioned, the big toe joint drops down in front of the cushion but doesn’t really touch the ground. No direct pressure means no pain. And voila!
Of course, it’s a lot more technical than that. You can’t actually put a giant cushion beneath your foot. You won’t be able to walk normally or wear normal shoes so ultimately you’ll put your regular shoes back on and BAM – painful symptoms. Instead, we incorporate this carefully into your orthotics that work with your everyday shoes, through pads and cut-outs and various other techniques we have up our sleeve. And by techniques, we mean evidence-based thoroughly-researched and proven techniques.
#2. Orthotics support the bones and tissues of the arch, stopping their collapse and the narrowing of the space between them
Hold out your hand, bring your fingers flat together, and imagine these fingers as the long bones of your feet. Now, imagine that there is something between the bones. It could be a nerve, ligament, muscle, a common mass like a cyst, or something else. If that structure gets damaged, one of the first things that’ll happen is that it will swell. When it swells, it gets larger and takes up more of that space between the bones. The bones then will rub against it and push on it, it will be sore and painful, and this will continue until you put your feet up and rest. Unfortunately, when you put your feet back on the ground, the process just starts up again until you can relieve pressure away from the area for long enough for it to heal. Sounds pretty hard to keep the foot up when we’ve got jobs and daily tasks where walking is essential, right? Yep!
The solution? An addition within the orthotic that supports the foot and opens up the space between the bones. Good amount of space = no direct rubbing = healing can proceed. No magic here, just good ol’ science, precision and biomechanics.
#3. Orthotics help absorb shock and hence the impact forces through the forefoot
To help explain this one, we’re going to backtrack back to physics. Remember Newton’s third law? The one that says that every force has an equal and opposite reaction force? Let’s start here.
If you hit your foot hard against the ground right now (please don’t), your foot won’t bounce back. Instead, you’ll feel a force, and maybe some shock or pain, coming back through your foot (the opposite and equal force). Now, imagine this kind of force occurring every time you run or jump. Did we mention that you exert a force equal to
three timesyour body weight during running?
For some, the force will be transferred effectively through their feet, bones and tissues, and they’ll feel little impact. For others, inefficient gait (movement) will result in much more stress and shock through the feet, which can lead to pains and problems.
Here’s where the orthotics come in. Where the biomechanics of the feet are lacking, orthotics can step in and work to absorb shock and ground reaction forces as we take step after step. This can mean a significant reduction of pain and symptoms through our feet, and have us feeling much more comfortable after a long day at work.
So there we have it! Just three of the many ways that orthotics can help with forefoot pain, among the variety of other foot and leg pathologies they can help with. Keep in mind that not all orthotics are created the same – each custom orthotic is made following the precise script of the prescribing practitioner – that’s why it’s
very important that you see a Podiatrist that specialises in orthotics and lower limb biomechanics. This also explains why orthotics work brilliantly for some people and not so for others – because they weren’t designed or created as optimally as they could be.
If you feel like your current orthotics just aren’t doing the job and would like to book in with our orthotic specialists here at Perform Podiatry to have them checked, give us a call on
09 523 2333 or
book online here.
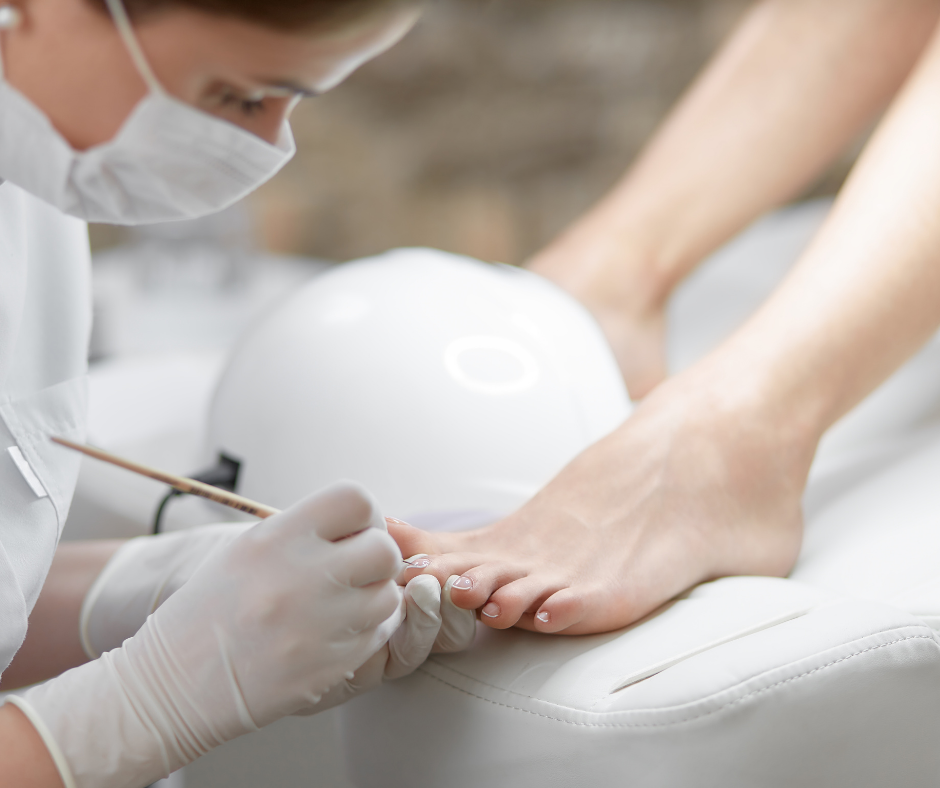
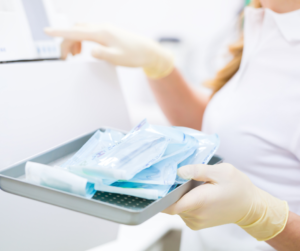 Our medical pedicures start with trimming your toenails using our German-made and individually steam-sterilised nail clippers, reducing any hard areas of dry, dead callused skin, removing any corns from the feet and toes, treating and reducing any cracks in the heels, and managing similar problems using a surgical-grade scalpel.